STARGAZER II
Astronomy Mobile Outreach Vehicle (AMOV)
Installation of the Overhead Cabinets
|
|
|
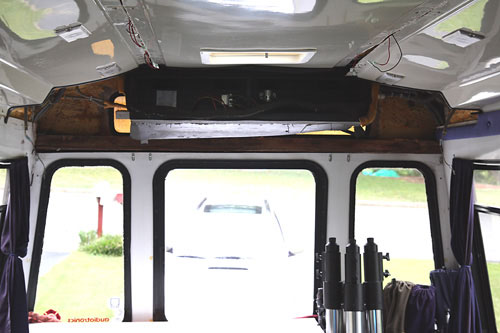
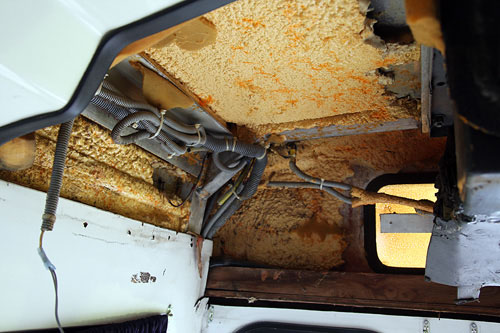
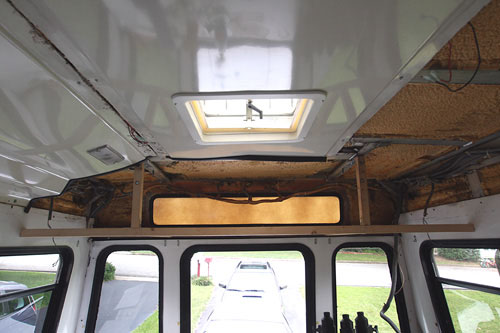
| With the rear fiberglass cover removed, the rear air conditioning unit is visible, and dirty from lack of use. | The right upper rear corner shows the insulation and wiring harness for the many components in the back of the AMOV. |
|
|
|
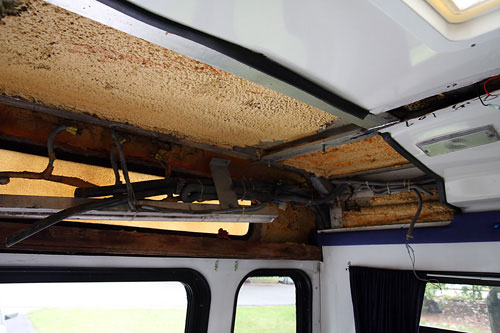
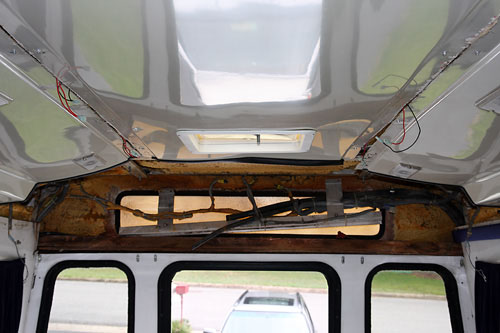
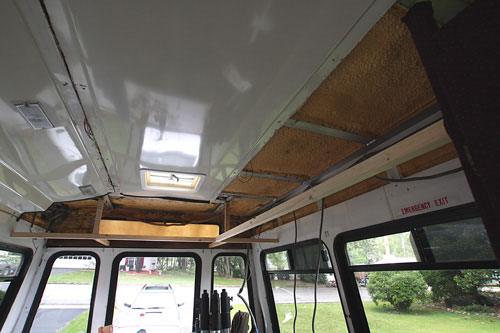
| Once the A/C unit is removed, the rear fluorescent light fixture is visible, and ready for removal. | The rear area without the A/C unit. Lots of room. |
|
|
|
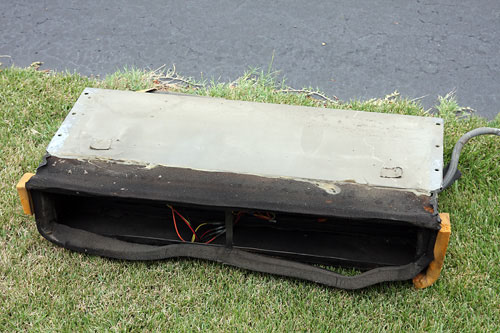
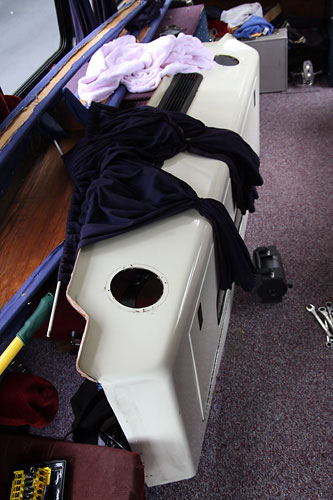
| This is the massive rear A/C unit. It was time for it to go, as the cost of repairing it was too much to consider. | The fiberglass rear A/C cover. No longer needed, and will be stripped of useful parts. |
|
|
|
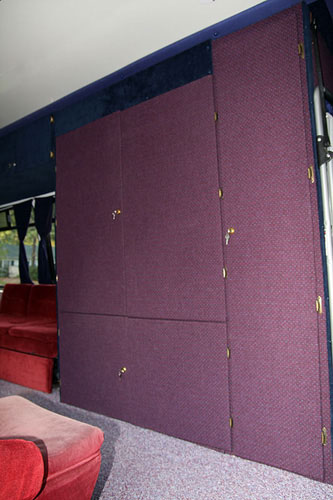
| The main bracing for the rear overhead cabinets starts to go in. | The overhead cabinets will go across the back, and then up the drivers side, above the couch. |
|
|
|
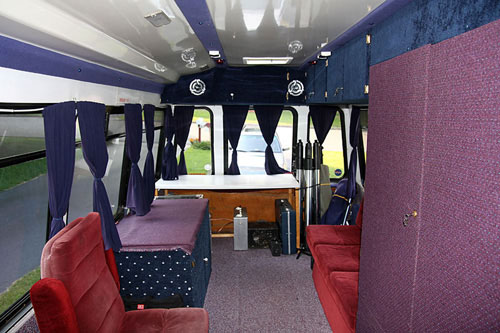
| Here is the main cabinet, pulled out 3 inches to match the layout of the rear overhead cabinets. | Here is a view from the front, showing the new overhead cabinets running back from the main cabinet, and then across the rear of the vehicle. |
|
|
|
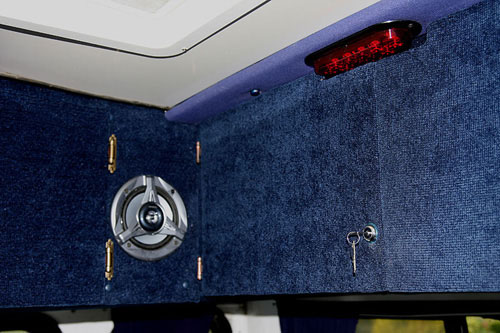
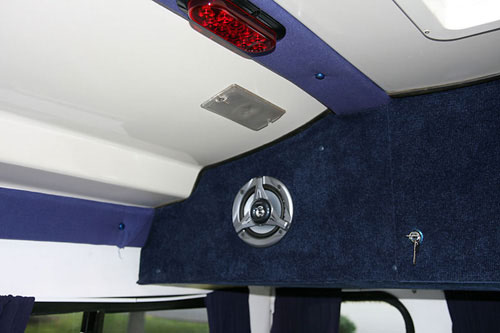
| The cabinets had to be modified for the sound system speakers, as well as the current overhead lighting. This is the drivers side, rear corner. | This is the passenger side rear corner. Again, the rear speakers had to be mounted. |